We're back with another
Die Cuttin Divas Challenge! This week we want to see banners, buttons and/or birthday projects! This week our sponsor is
3 Girl JAM. Be sure to link up your project by Monday May 28th for your chance to win an amazing prize!
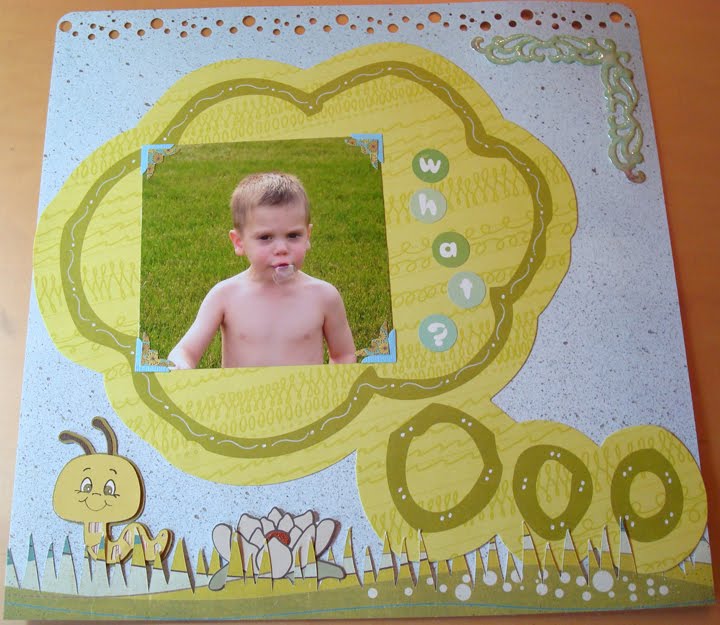
For my project, I decided to make a layout using all 3 of the b's!
This was a pretty basic layout to put together. I LOVE using banners! I think they are adorable! I cut the pennants from Sports Mania, punched some small holes in them and weaved them with baker's twine. I grabbed a few buttons from OTC for the ends.
I cut the balloons from Create a Critter and the number 3 from Sweet Treats cart. I glossed up the balloons with Glossy Accents and added some Studio G sparkle glue to the number. Then I just added a bit more baker's twine. I used Cupcake Chain border punch from ek success for the cupcakes and topped them with adhesive pearls from OTC.
I actually made one of the picture mats a pocket to hold his birthday party invitations. I save everything..EVERYTHING! So I wanted them to be a part of his page! And I'm not sure if you can see it but in the bottom right corner I also write their well check stats. At 3 years he was 33 lbs and 39 1/4 inches!
We would love to see what you create that has buttons, banners and/or a birthday theme! Be sure to link up
HERE for your chance to win a prize from our sponsor
3 Girl JAM!
Supplies:
Coredinations Cardstock
DCWV The Celebration Stack
Create a Critter Cartridge
Sweet Treats Cartridge
Sports Mania Cartridge
Bakers Twine
Glossy Accents
Studio G Glitter Glue
EK success cupcake chain punch
EK success scallop diamond border punch
OTC adhesive pearls and buttons